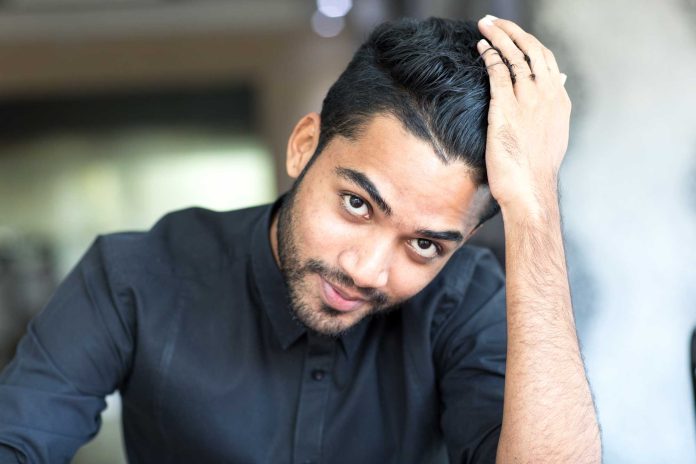
This post is useful for those who want to begin their own hair photography business. These hair photography tips will allow you to take stunning images and build a successful career on Instagram.
It doesn’t matter if you are a professional photographer who wants to add a new skill to your portfolio or an owner of a beauty salon/shop who wants to interest more clients by posting beautiful pics on Instagram.
Top 9 Hair Photography Tips & Tricks

To become a successful and well-known hairstylist, you not only need to do impressive hairstyles or haircuts but also learn how to photograph them for sharing on social media. If you are a freelance beauty salon photographer, then these hair photography tips will surely come in handy. They will help you capture hair in the most winning way and demonstrate your model’s hairstyle.
You will learn about what the background should be, what shots you need to take, what kind of lighting should be used during shooting, and how to edit your images for social networks.
1. Use a Clean Background

When photographing hair, you should place maximum emphasis on it and avoid any distractions. Do not use a bright colorful background so as not to draw the viewer’s attention to it. It is better to photograph hair against a white or blurry brick background. It all depends on the situation and your ideas.
If you haven’t found a free clean wall in the salon, you can always buy a small background mat for close-up photos and a wall background for selfies, team photos, and client pictures at Amazon. They cost up to $50.
Make sure that there are no unnecessary objects (furniture, plants, etc.) in the frame. If possible, move them to another part of the room. You can also get a closer shot using your camera or smartphone, or take a few steps towards a model.
2. Take Care of the Lighting

Lighting is one of the key factors for successful hair photography. To capture the hair in the best possible way, photographers often use the so-called specular highlighting. The idea of this method is to create some reflection from the captured object using the light source. To achieve the desired effect, you need to position the light 2-4ft away from the subject at a height of 1-3ft from it.
Thanks to such reflection, the hairstyle will look really eye-catching. Also, you can use light diffusers and reflectors below. However, it’s a bad idea to use a flash. Special mini or full-ring light is also a good option. You can buy a mini-ring light for your smartphone for less than $30 at Amazon.
3. Shoot from Slightly Above

Take hair photographs from the height of your subject or slightly higher to achieve stunning results. To position the camera at the desired height, you can stand on a chair or something like that. This point is especially important when shooting the back of the head.
You can add flattering shadows and make the light bounce off the hair by shooting from below. If you are taking photos from the front, then keep the camera at the same height as the object is.
4. Learn What Poses and Ideas to Use

Many clients may feel uncomfortable in front of the camera. Therefore, you need to consider possible positions, think over various ideas, and suggest better angles to your model. To find winning poses and ideas for your photographs, you should follow Fixthephoto where experienced editorial and beauty portrait photographers share their hairstyle photography tricks
While reading such articles, you can learn about the correct posing, how to prepare hair for shooting, and use a few universal ideas. Moreover, you can get inspired by famous hairstyle photographers who have lots of Instagram followers, which will help you create your own creative content.
5. Take Quality Before/After Photos

You can often see before/after photos on Instagram, which practically do not differ from each other. It happens because photos before were taken at the last stages of creating the hairstyle, or a hairdresser decided to publish only minor changes.
To make a WOW effect and impress your subscribers, you should publish the pictures where the result is significantly noticeable. Besides, you should not forget to photograph the process of creating a new image from the very beginning to the final stage.
6. Take Several Shots of the Final Result

When taking hair photographs, you should capture your object several times to be sure you will have a really good image. It will be too frustrating to spend a lot of time and effort on your hair and not to get a perfect photo because an image looks blurry or there are unnecessary objects in the frame.
There is no need to spend too much money on an SD card to store pictures on your phone or camera. It’s better to take only high-quality pictures from different angles, positions, etc.
You also need to set your lighting correctly. The light source should be close to the subject and slightly above it. Check that you have taken multiple shots from the back and front at a 45-degree angle.
Hair captured from different angles grabs viewers’ attention. You should also make sure the model’s clothes are clean. You should have a sticky roller to keep everything looking perfect.
7. Take Care of Brand Style
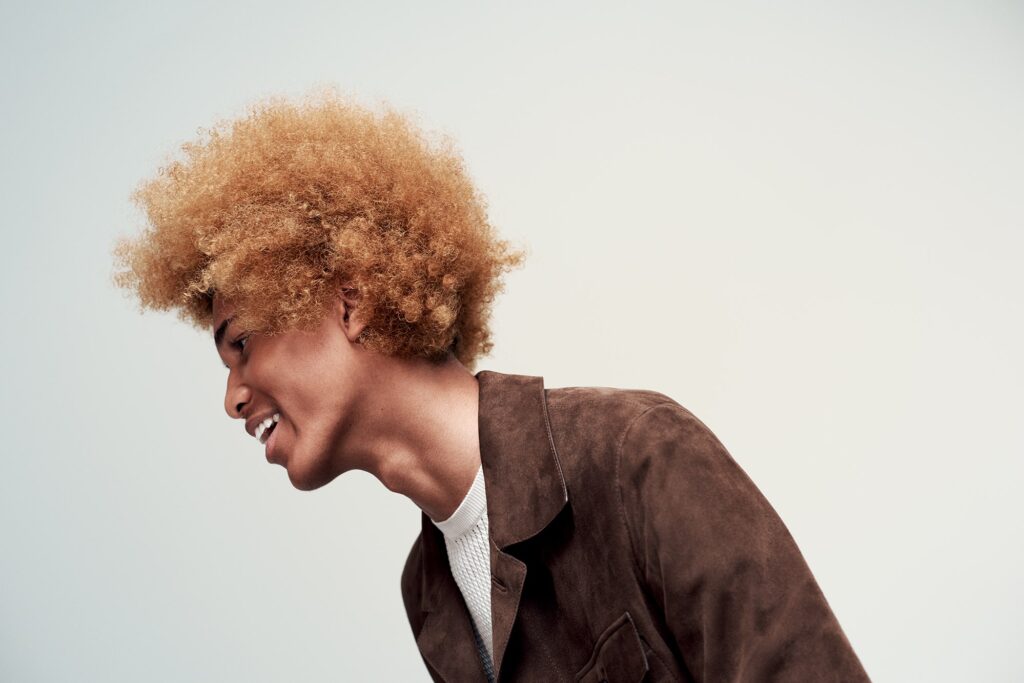
One of the main goals of hair photography is to make the name of the hairdresser or salon famous. Therefore, when preparing to photograph a client, make sure that some things related to your brand get into the frame. These can be corporate colors, a logo, some accessories, etc. Think of the yellow hairdryers and pops in DryBar’s Instagram photos!
Before taking photos, think about things that will help potential clients remember your name. It should be something versatile so you can use it with just about every photo. Walkthrough the mall or dollar stores and pick out a few things for future photos.
8. Portrait Mode on Smartphones
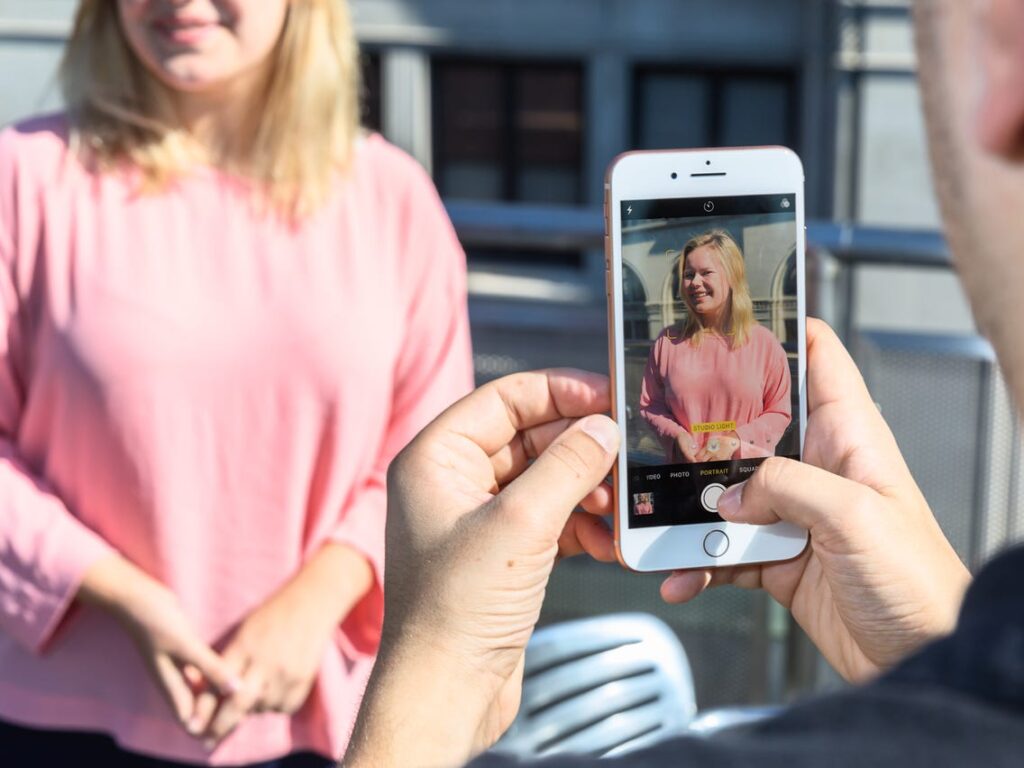
If you are going to shoot with an iPhone, then you should choose “Portrait Mode” for better pictures. “Live Focus” delivers similar results on Android devices. Experiment with these modes and also try out the default settings of your smartphone to find the optimal ones for fantastic shots. Thanks to Portrait Mode, you can focus on your subject while keeping the background blurred. This will make the hairstyle more noticeable.
Also, do not forget that when shooting with a phone, you shouldn’t use the zoom. It’s better to come closer to a model. The sensor of the smartphone is not as good as DSLR cameras have, so the quality of the photo will be very poor.
9. Think of Photo Editing
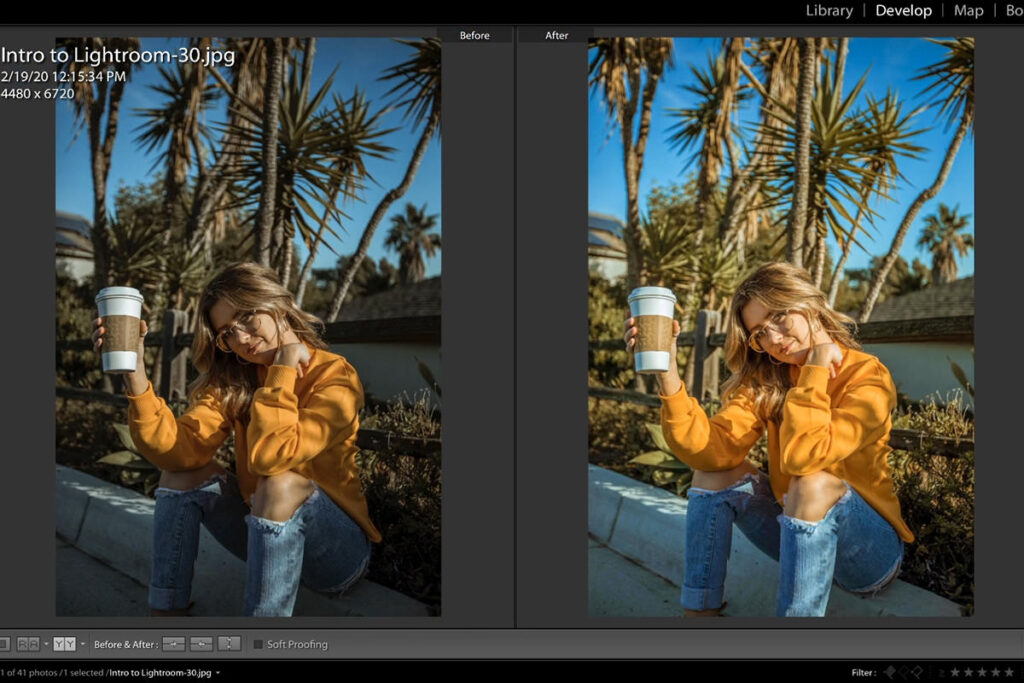
Recommendations on correct photo editing are among the key hair photography tips that you should stick to. Your posts on social media should be consistent in style to adhere to the brand concept chosen in step 7. Matching accessories and props are only the first steps to take. Adding suitable filters and thoughtful image editing are essential ingredients for success.
The best idea is to choose the most subtle filter and use it with all your photos. You also can’t do without a dedicated app to enhance your images. Lightroom and Snapseed are some of the most popular options.
Here are a few things you need to pay attention to if you want to make your photos look impressive:
• Apply a subtle preset to all your pictures
• Fix the yellows and blues in your photos by correcting the white balance (the same tone should be in all pics)
• Correct the brightness and lighten images that are too dark
• Get rid of unnecessary distractions by cropping your photo








![16 Best Men’s Loafers 2023 [ BEST PREMIUM BRANDS ] best mens loafers](https://www.menshairstylesx.com/wp-content/uploads/2019/10/best-mens-loafers-1-100x70.jpg)
